Steps to create bootable pendrive
Welcome to the TCET Linux Installation guide! This comprehensive walkthrough will assist you in installing TCET Linux using a bootable pendrive. Follow this guide on the TCET Linux Website for a seamless installation experience.
You can use tools like Rufus, Balena Etcher, or Win32 Disk Imager to create a bootable USB drive. Follow the instructions provided by your chosen tool to flash the TCET Linux ISO to the USB drive.
Here's an example with Rufus
Step 1: Download TCET Linux
Download the latest version from our official website.
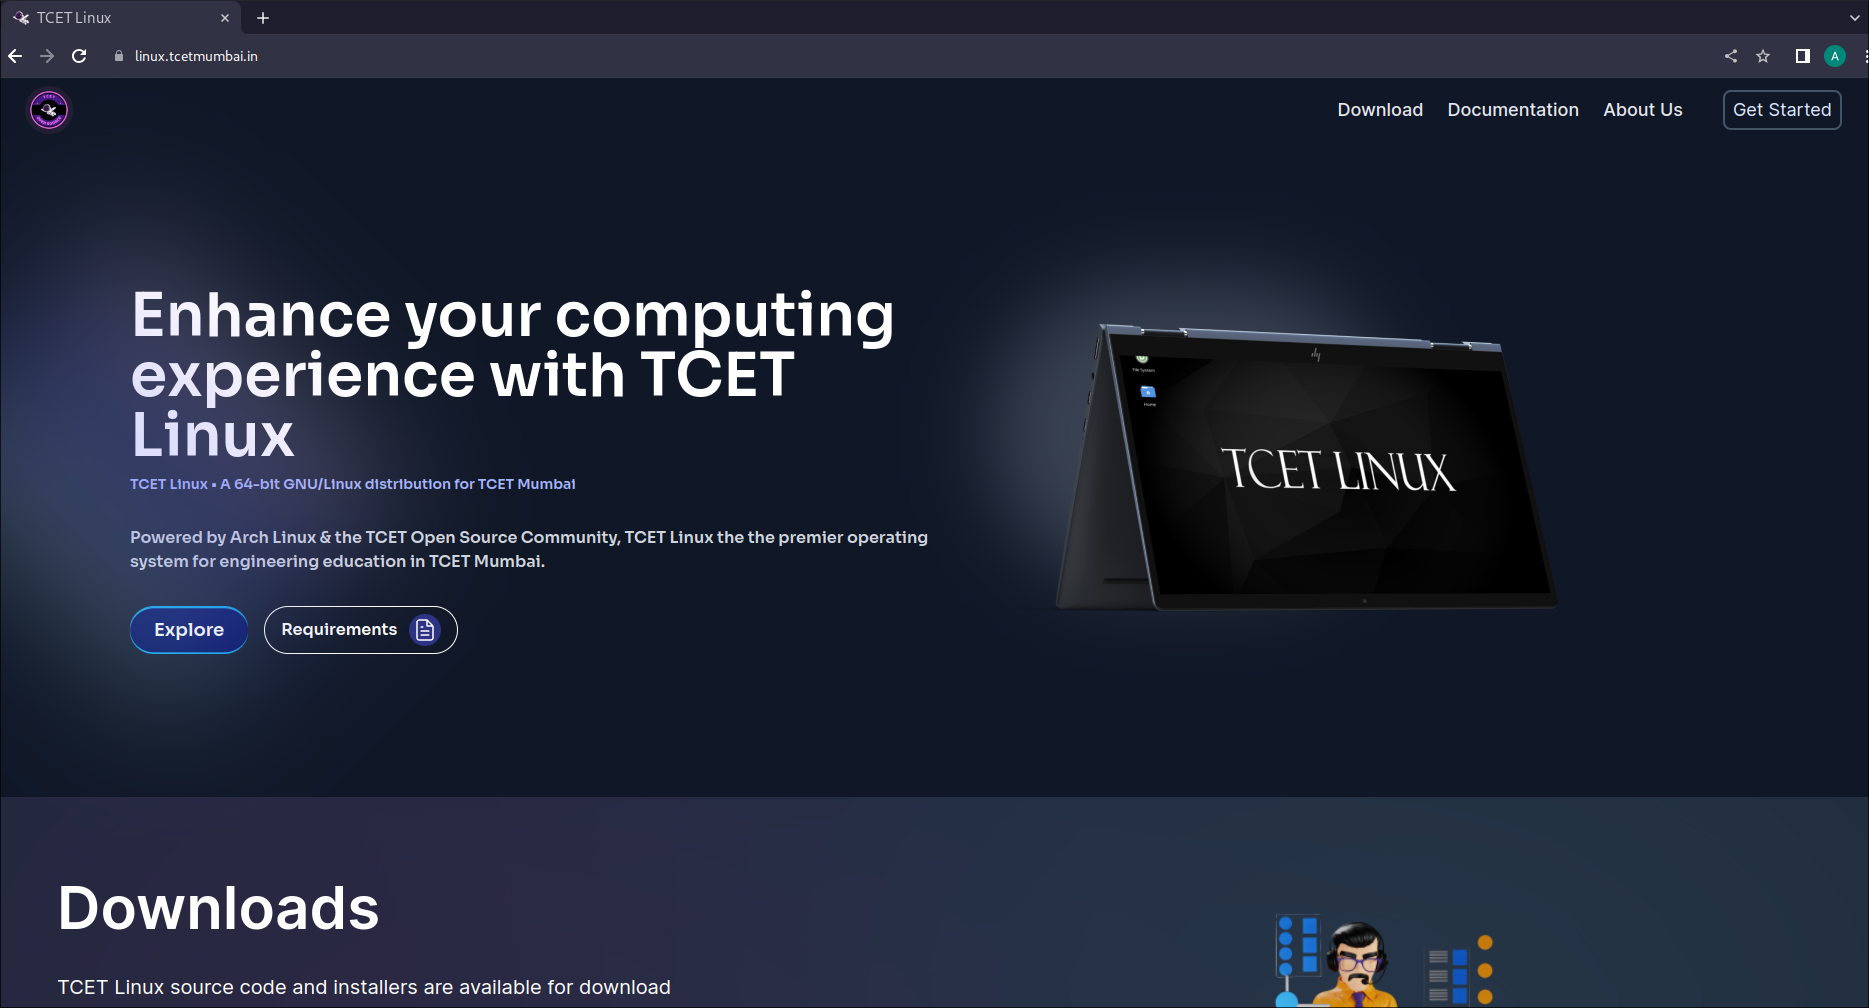
Step 2: Prepare the Bootable USB Stick with Rufus
- Download and install Rufus on your Windows PC.
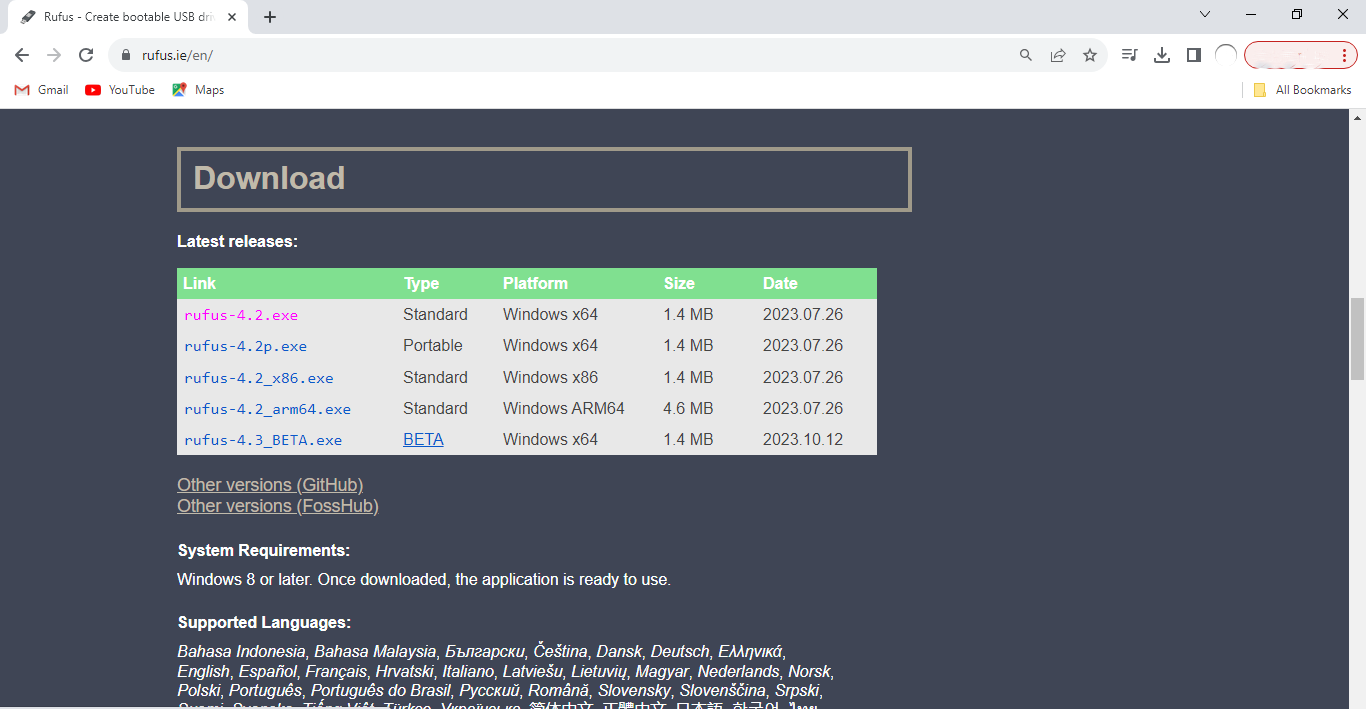
- Open Rufus, granting necessary permissions.
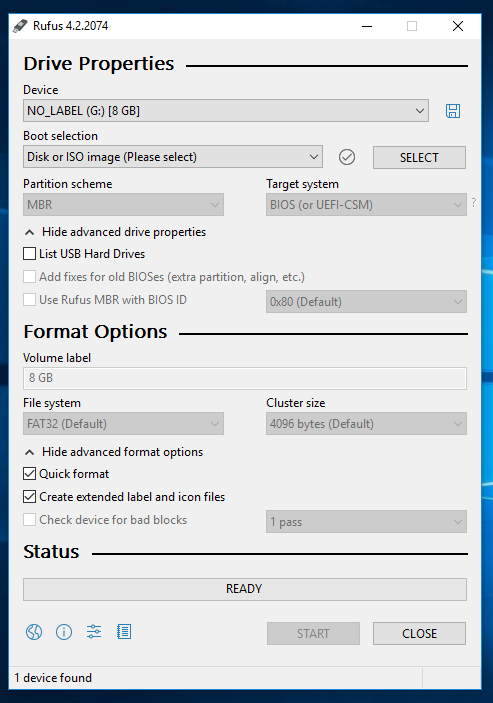
- Select your USB device under "Device" and choose the TCET Linux ISO by clicking on
SELECT.
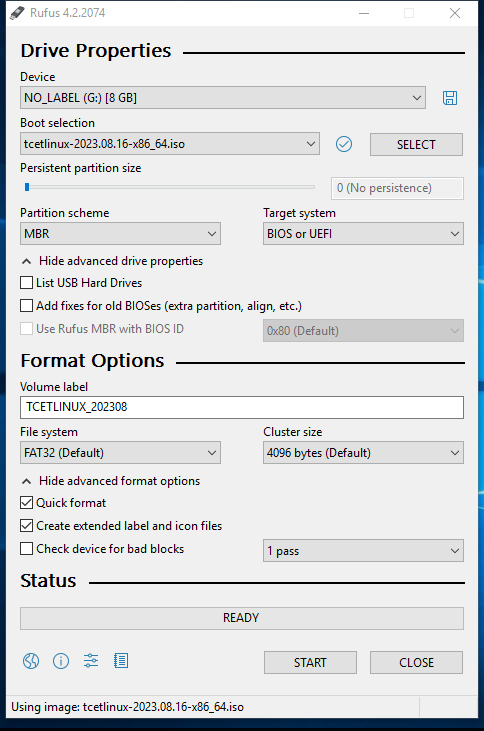
- Configure the settings:
- Ensure the partition scheme is MBR for compatibility with both BIOS and UEFI systems.
- Click
START.
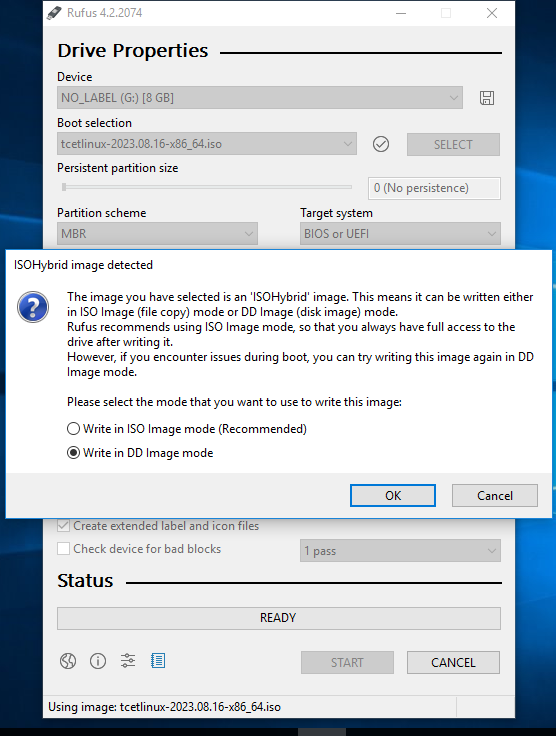
- Choose DD mode in the pop-up menu and click
OK. Be aware that all data on the USB will be erased.
Ensure you select the correct drive to avoid data loss.
Step 3: Boot from USB
- Insert the USB into your computer and restart.
- Access the BIOS menu (usually Delete, Escape, F9, or F10) before the Windows OS loads.
- Under "Boot Options," select "TCET Linux" and press Enter.
- If the screen freezes, wait for about 5 minutes; you should reach the login page.
Linux Users
For Linux users, employ the 'dd' command in the terminal:
sudo dd bs=4M if=/path/to/tcet-linux.iso of=/dev/sdX status=progress
After completing the bootable pendrive installation, your USB is ready. Proceed to the next section to learn how to install TCET Linux using a virtual machine.
Explore the potential of TCET Linux and enjoy a seamless open-source experience!
After successfully implementing the bootable pendrive installation of TCET Linux, we were ready with a bootable drive. Next, we will be seeing how we can do partitioning of the drive.